· Web Development · 2 min read
Modern Website Development with AstroJS, Cloudinary and Flux
A comprehensive guide to building optimized websites using AstroJS, Cloudinary, and Flux with Windsurf Code Generator.

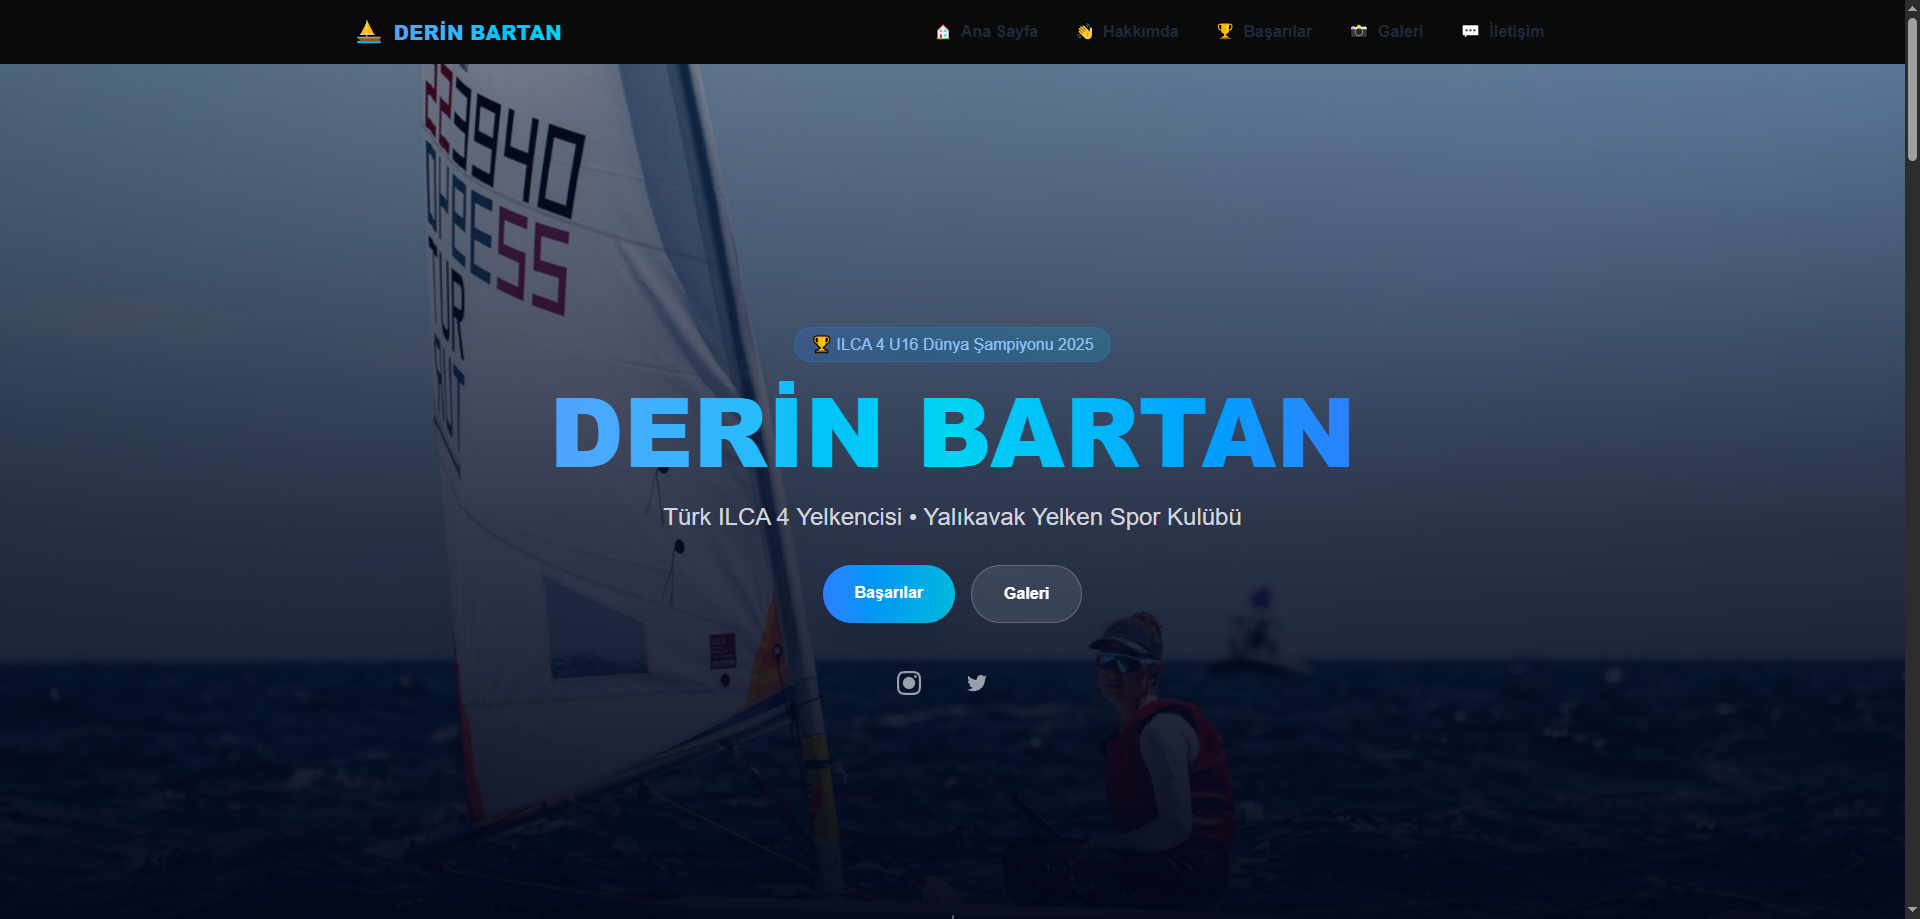
Modern web development heavily emphasizes performance and user experience. In this article, I’ll explain how I created an optimized website using AstroJS, Cloudinary, and Flux. The site was developed using Windsurf Code Generator and deployed on Vercel.
Technology Choices
AstroJS
AstroJS is a static site generator designed for modern websites. My reasons for choosing it include:
- Maximum performance with minimum JavaScript
- Component-based development capability
- Markdown support
- Easy integration with other frameworks
Cloudinary
I chose Cloudinary for image optimization. Advantages offered by Cloudinary include:
- Automatic image optimization
- Responsive images support
- Fast delivery through CDN
- Easy integration APIs
Flux
I used Flux for image management. Features provided by Flux include:
- Drag-and-drop interface
- Batch upload support
- Image editing tools
- Direct integration with Cloudinary
Project Setup
1. Creating an AstroJS Project
# Create a new Astro project
npm create astro@latest my-windsurf-site

# Go to project directory
cd my-windsurf-site

# Install required dependencies
npm install @astrojs/image cloudinary
2. Cloudinary Integration
// astro.config.mjs
import { defineConfig } from 'astro/config';
import cloudinary from './cloudinary.config.js';

export default defineConfig({
  integrations: [cloudinary()],
  image: {
    service: 'cloudinary',
    cloudinary: {
      cloud_name: 'your_cloud_name',
      api_key: 'your_api_key',
      api_secret: 'your_api_secret'
    }
  }
});
3. Using Windsurf Code Generator
Windsurf Code Generator was used to automate repetitive code:
// windsurf.config.js
module.exports = {
  templates: {
    page: {
      path: 'src/pages',
      template: 'page.template.astro'
    },
    component: {
      path: 'src/components',
      template: 'component.template.astro'
    }
  }
};
Image Optimization
The approach I used to optimize images with Cloudinary and Flux integration:
---
import { Image } from '@astrojs/image/components';
const { src, alt } = Astro.props;
---

<Image
  src={src}
  alt={alt}
  width={800}
  height={600}
  format="webp"
  quality={80}
  loading="lazy"
/>
Vercel Deployment
Steps followed to deploy the project to Vercel:
- Installing Vercel CLI:
npm i -g vercel
- Project configuration:
// vercel.json
{
  "builds": [
    {
      "src": "package.json",
      "use": "@vercel/static-build",
      "config": { "zeroConfig": true }
    }
  ]
}
- Deploy command:
vercel --prod
Performance Optimizations
Strategies applied to improve project performance:
Image Optimization
- Automatic format conversion with Cloudinary
- Lazy loading implementation
- Responsive images usage
JavaScript Optimization
- AstroJS’s partial hydration feature
- Component-based lazy loading
- Bundle size optimization
CSS Optimization
- Critical CSS extraction
- Unused CSS elimination
- CSS minification
Results
With this project, we succeeded in creating a high-performance site using modern web technologies. Thanks to the performance advantages provided by AstroJS, Cloudinary’s image optimization features, and Vercel’s fast deployment processes, we created a user experience-focused website.
Performance Metrics:
- Lighthouse Performance Score: 95+
- First Contentful Paint: <1s
- Largest Contentful Paint: <2.5s
- Time to Interactive: <3.5s
Next Steps
Steps I plan for project development:
- Automatic image optimization pipeline
- Improvement of CI/CD processes
- Adding PWA support
- Integration of analytics tools


